
Acorn, Butternut, Spaghetti, Red Kuri, Kabocha, Delicata
and Pumpkin are all varieties of Winter Squash. These beautiful and
delicious seasonal jewels can be intimidating to many, causing you to walk right by them in the Produce section. Well you are missing out on some
wonderful tasty ingredients that is high in fiber and if stored like you would
potatoes (unrefrigerated), can last up to 6 months. Because I would hate
for you to go any longer without them in your life, here is a quick and easy
guide to getting to know 3 of the most popular Winter Squash.

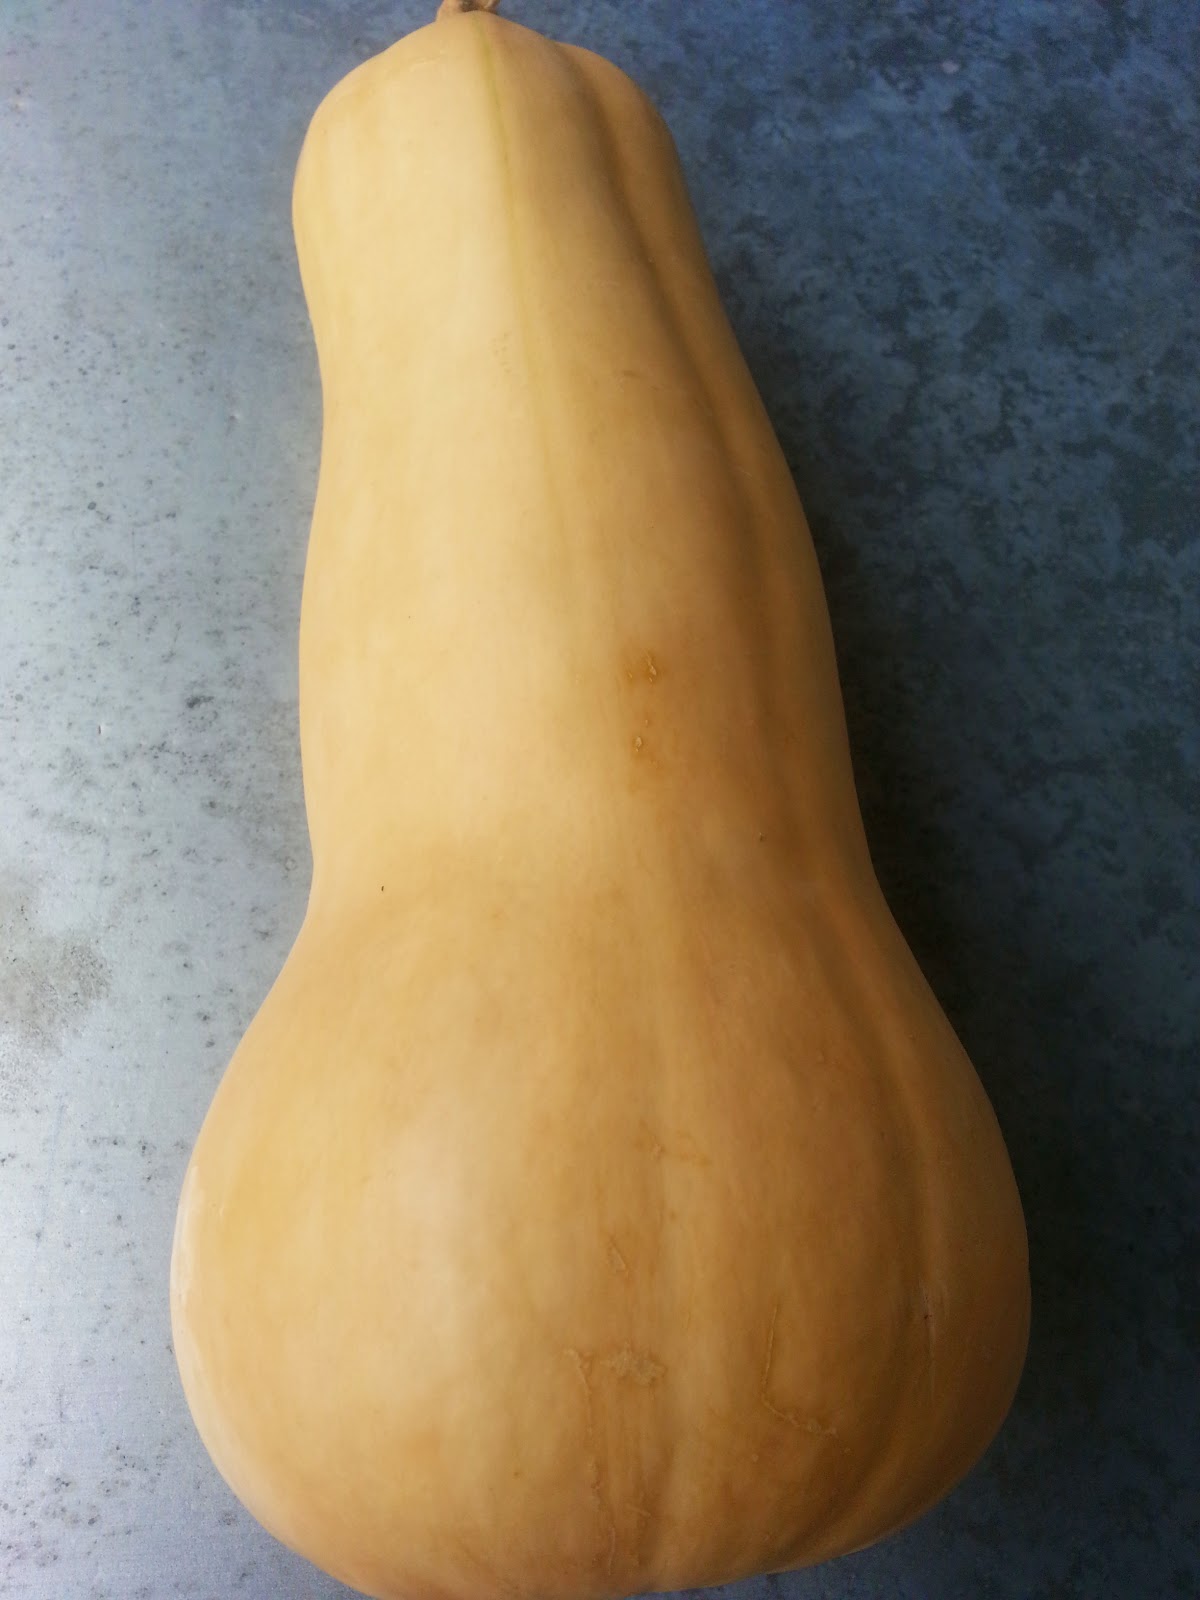
Butternut Squash muffins
 Mix together dry ingredients:
1 1/2 cups flour
1/2 teaspoon salt
1/2 cup brown sugar
1 teaspoon baking soda
1/2 teaspoon cinnamon
Combine in a large bowl:
1 cup roasted or steamed winter squash
1/2 cup canola oil
6 tablespoons of grade B maple
syrup
Egg replacer equal to 2 eggs
1/4 cup water
1/2 cup chopped unsalted
pecans
Add the dry ingredients and the pecans to the wet
ingredients in stages, mixing gently. Pour into greased muffin tins or bread
loaf pans. Bake at 350 degrees.
Check mini muffins after 10 minutes, standard muffins
after 18 minutes, and bread loaves after 40 minutes. Bake until the top is
golden brown and springs back when lightly pressed.

Pumpkin- When choosing a pumpkin make sure you choose a pie pumpkin to eat
or you can buy the puree in a can. The whole ones look like mini versions
of the one used for carving and decorating. I found a delicious pumpkin
cheesecake recipe that I make a dairy free version of. If you like dairy skip
the cashews and add real cream cheese but I don't think you would miss it at
all.
 Dairy Free Pumpkin Cheesecake
Ingredients
1 1/4 cups raw soaked cashews
1 cup maple syrup
1 16 oz. can organic pumpkin puree
2 tsp pumpkin pie spice
1 tub (8 ounces) tofu cream cheese
optional: 1/2 tsp salt to taste (depends how much salt you soaked your cashews in)
optional: 1/2 tsp salt to taste (depends how much salt you soaked your cashews in)
One standard vegan graham cracker pie crust
Directions
1. Soak about one cup of raw cashews in about 2
1/2 cups of water in a large bowl. Add about 1/2 – 1 tsp of salt to the bowl –
mix to dissolve. The salt allows the water to absorb more efficiently into the
cashews and also adds some salt for your recipe.
2. Soak
this cashew bowl overnight in the fridge. You want well-soaked cashews so that
your pie mix blends up perfectly creamy. I soaked my cashews for about 18
hours. At least 8 is optimal. Don’t soak for more than two days or the cashews
can get grimy.
3. The
day of your actual pie making allow at least 3 hours from the time you start to
the time you wish to serve the pie. I like a cool time of at least 2 hours.
4. Preheat
your oven to 400 degrees.
5. Drain
the water from your cashews. They should be very soft to bite and a slight
purplish dark hue. This is normal. Add 1 1/4 cups of cashews to your food
processor – or blender.
6. Next,
add in the maple syrup, vegan cream cheese, pureed pumpkin and pumpkin pie
spice. Blend on low then high for about 3-5 minutes until the mixture is
completely creamy. If your mixture is a bit thick for some reason – you can add
in a few teaspoons of either water, maple syrup or even non-dairy milk. After
blending, do a taste test and add a 1/2 teaspoon of salt if needed. I added in
about 1/3 tsp extra salt. But taste before adding.
7. Pour
your mix into a graham cracker pie shell (store-bought or homemade).
8. Bake
pie at 400 degrees for 10 minutes. Then reduce to 350 degrees and bake for an
additional 30-40 minutes. Your pie will firm up significantly upon cooling and
chilling in the fridge.
9. Remove
pie from oven. Cool on counter for at least 30 minutes. Then place in fridge
until ready to serve. At least 2 hours cooling and/or chilling time is my
preference. A warm pie will be tasty, but still a bit “wet” to slice.

Spaghetti Squash - these semi-soft and yellow squash are mild in flavor and when cooked it's flesh resembles spaghetti.
Baked Spaghetti Squash with Marinara Sauce
Preheat oven to 400. Pierce the whole squash with a fork and microwave for 3 minutes to soften. Let cool. Once cool to touch cut squash lengthwise and scoop out seeds (DO NO THROW SEEDS AWAY set them aside for the next recipe). Spray a baking sheet with non-stick spray and place squash flesh side down. Bake squash for 50-60 minutes or until skin is fork tender. Remove from oven and let sit until it is cool to touch. turn flesh side over and use fork to scrape the squash "spaghetti" strings. Add to a serving bowl. In a saucepan heat your favorite marinara and add 1/2 cup to the squash and season to taste. Serve immediately with additional Marinara on top.

Don't forget the seeds. Most of us know that the seeds of the pumpkin can
be roasted and eaten but so can the spaghetti squash ones. You can go
crazy with the seasoning of your choice. Try a little seafood seasoning or
garlic powder or cayenne pepper before serving.
Roasted Pumpkin or Spaghetti squash seeds
 Seeds from 1 spaghetti squash or Pumpkin
1/2 tsp. safflower oil
Sea Salt to taste
Roasted Pumpkin or Spaghetti squash seeds
Seeds from 1 spaghetti squash or Pumpkin1/2 tsp. safflower oil
Sea Salt to taste
Directions
Preheat oven to 300 degrees. Remove seeds from squash and rinse. Dry thoroughly with paper towels. In a small mixing bowl, combine seeds, safflower oil and sea salt. Spread seeds on ungreased cookie sheet making sure none are touching. Bake 10-15 minutes on one side. Turn seeds using a spatula and bake another 10-15 minutes. Seeds are done when golden, slightly brown on ends and edges and have a nice crunch.
Now that you have the basics, stop walking by those squash in the Produce department and enjoy these wonderful fall and winter favorites.
No comments:
Post a Comment