Showing posts with label Recipes. Show all posts

Saturday, November 22, 2014

Nana's Yeast Rolls but Vegan


This is Nana. Nana was the name we called our Great-grandmother on my father's side.  She was a little silver haired firecracker and one of the best cooks I ever met in my life.  I went to Nana's house everyday after school and all summer long. I remember her always being in the kitchen. You could walk into her kitchen and get hot cooked breakfast from 7-9am, lunch from 11-1pm and dinner from 5-7pm and she always had enough for everyone.  Nana's background was German so her idea of soul food was Cabbage and Potatoes, Beef Brisket and her Yeast rolls.  For years as a child I would go to the store for her to get the ingredients for them including dry active yeast (Must be Fleishman's) sugar, All Purpose flour, Crisco and a few other things.  Nana would spend hours working on these rolls and they made the house smell so warm and cozy ( I wish it was a candle scent).  If you ever asked her how they were made she would tell you "a pinch of this, a little bit of that" and never did the mix the same way twice so we could memorize the steps. 
In my freshman year of college Nana died, and although I did master her Cabbage and Potato recipe, her yeast rolls went to her grave with her and my Aunt Clara and I have spent the last 20 or more years looking for that recipe. 
So this month as the weather turned cold and the thought of Nana's yeast rolls came to mind Clara and I each took a shot at the recipe and between the two of us and a little help from the Food Network and The Joy of Cooking cookbook we came up with very similar recipes, mine however is dairy free.  This recipe takes lots of patience and care but once you eat one or three of them you will know that all your hard work was worth it. So without further ado here is my version of my Nana's Yeast rolls
Nana's Yeast Rolls
4 cups Califia Almond Milk
1 cup Sugar
1 cup Safflower Oil
9 cups All Purpose Flour
2 packages (4 1/2 Tsp.) Active Dry Yeast
1 teaspoon (heaping) Baking Powder
1 teaspoon (scant) Baking Soda
2 Tablespoons Salt
Pour 4 cups of milk into a large stock pot. Add 1 cup of sugar and 1 cup of vegetable oil. Stir to combine.Turn the burner on medium to medium-low. Before the mixture boils, turn off the heat and allow this mixture to cool to warm/lukewarm. The mixture will need to be warm enough to be a hospitable environment for the yeast, but not so hot that it kills the yeast and makes it inactive. Feel the side of the pan with the palm of your hand. The pan should feel comfortably warm.
When the mixture is the right temperature add in 4 cups of flour and 2 packages of (4-1/2 teaspoons) of active dry yeast. After the yeast and flour are nicely incorporated, add another 4 cups of flour. Stir together and allow to sit, covered with a dish towel or lid, for an hour. After about an hour it should have almost doubled in size. If it hasn’t changed much, put it in a warm (but turned off ) oven for 45 minutes or so. When it has risen sufficiently add 1 more cup of flour, 1 heaping teaspoon of baking powder, 1 scant teaspoon of baking soda and about 2 tablespoons of salt. Stir until combined.  Let the dough cool for another 30 minutes.
Butter 1 or 2 muffin pans. Form the rolls by pinching off a walnut sized piece of dough and rolling it into a little ball. Repeat and tuck three balls of dough into each buttered muffin cup. Continue until pan is full. Cover and allow to rise for about 1 to 2 hours.
Bake in a 400-degree oven until golden brown, about 17 to 20 minutes.
This recipe makes about 36 rolls and can be frozen to enjoy later or you can share with friends.  If you make them or any of my recipes please send me pictures to

Tuesday, November 18, 2014

Chickpeas, Garbanzo Beans and Channa


With so many names and so many uses this small member of the legume family is both inexpensive and a great source of protein and fiber (12 grams of protein and 12.5 grams of fiber per cup) for the plant based eater. When pureed the creamy texture makes it the perfect base for Hummus and when added to a stew the meatiness makes it super satisfying. Chickpeas can be made into flour for those staying away from wheat and is a great treat when made into Falafel. Chickpeas can be purchased both dried and canned and are available in most grocery stores. I like to buy and use canned, not only do they save time but chickpeas don't lose their nutrients when canned. You can always find 3 to 4 cans of no salt added chickpeas in my pantry and here are three of my favorite recipes for them.

Tuna salad was a staple in my diet for a quick lunch or dinner.  I missed it so much that I just replicated the recipe using a can of chickpeas and some vegan mayonnaise.

Chickpea "Tuna Salad
1 can of chickpeas rinsed and drained
1 1/2 tablespoon of vegan mayonnaise
1 tablespoon of sweet relish
1/4 teaspoon of Dijon mustard
1/8 teaspoon of Old Bay Seasoning
1/8 teaspoon of black pepper
Using a fork mash the whole chickpeas until a tuna like consistency.  Add all of the rest of the ingredients and mix well.  Serve on a whole wheat tortilla with lettuce and tomato. Store in an air tight container in the refrigerator for up to 3 days.


If you love spicy or Indian food then this next recipe is for you.  It has more ingredients than I usually use but is so worth it and I promised to post more recipes so you can use them all again.
Chana Masala
3 tablespoons of Earth Balance buttery spread
1 medium red onion, diced
1 clove of garlic, sliced
1 14.5 oz. can of diced tomatoes with green chilies
2 14.5 oz. cans of chickpeas, rinsed and drained
1 cup of frozen spinach
1.5 cups of water
1 teaspoon of Cumin
1/8 teaspoon of powdered Ginger
1/2 teaspoon Turmeric
1/2 teaspoon Cardamom
1/2 teaspoon Garam Masala
1/8 teaspoon smoked Paprika
1/8 teaspoon of Cayenne pepper
Salt and Pepper to taste
heat a large sauce pan over high heat until hot.  Reduce heat to medium high and add the Earth Balance, red onion and garlic stirring constantly until the onion is opaque.  Add the diced tomatoes to the pot and bring to a simmer.  Pour the mixture into a high powered blender and blend until smooth.  Add the sauce back into the pot with the water, chickpeas, spinach and the spices except the salt and pepper. Mix well and reduce the heat and simmer covered for 10 minutes.  Salt and pepper to taste and serve over brown rice.

This last recipe I must give credit to my friend Kerry.  I failed twice at getting the crispy in my roasted chickpea snacks until she told me that you need to open the oven often to let the moister out.  So I opened the oven, not just to let out the moister but also to shake the chickpeas so they roast evenly and don't stick to the baking dish. So this one is for Kerry.

Pumpkin Spiced Roasted Chickpeas
1 can of chickpeas, rinsed drained and patted dry with a towel
cooking spray
1 tablespoon of Maple syrup
1 tablespoon of pumpkin pie spice
1/8 teaspoon of sea salt

Preheat oven to 375. Spray a baking sheet with cooking spray and spread the chickpeas in a single layer and bake for 45 minutes to an hour opening the oven and shaking the sheet every 15 minutes until they are crispy.

While the chickpeas are baking mix together the Maple syrup, Pumpkin pie spice and the Sea salt in a bowl.  While chickpeas are still hot toss them in the syrup mixture. place them back on the baking sheet and back in oven for 5-7 minutes to caramelize.  Store leftover chickpeas in an air tight container.

So there you have it, three yummy ways to enjoy your new best friend the chickpea.  I hope you enjoy the recipes and make them soon.  If you do, don't forget to share this post with a friend and send me your pictures to brownveggiemom@yahoo.com for a chance to get featured on my blog.


Thursday, October 30, 2014

My 10 Must Have Pantry Staples

"Healthy eating is too expensive".  How many times have I heard this from friends, family and even customers?  Countless.  So when one of my readers asked me for a list of pantry staples to have on hand to make quick meals I needed to make sure that not only did I provide a pantry list and some recipes but I wanted to keep it inexpensive as well. So I came up with a list of 10 pantry items and 6 recipes for under $25. Here are my top 10 must haves and the recipes I use them in.

1) Canned beans - black, kidney, white or navy
2) Canned Tomatoes- Whole, diced or crushed
3) Whole Wheat Spaghetti
4) Taco seasoning pack
5) Salsa
6) Brown rice
7)Frozen mixed vegetables (corn, carrot, lima bean and green bean mix
8) Frozen vegetable stir-fry - mushrooms, peppers, broccoli and onion
9) Liquid amino or low-sodium soy sauce
10) Whole Wheat Tortilla
First is my version of the Filipino noodle dish Pancit.  This is one of the first dishes I learned to make and served it a lot when I first got married.  This dish requires pasta, liquid amino or soy sauce, frozen stir-fry vegetables, garlic and onion.
Pancit
2 cloves of minced garlic
1 medium onion sliced thin
1 pound of whole wheat spaghetti
1 16 oz. pack of frozen mixed vegetables
2 tablespoons of liquid amino
1 tablespoon of safflower oil
Boil pasta according to the directions on the package and reserve 1 cup of pasta water. Drain pasta and set aside. Reheat pasta pot over high heat and add the olive oil, garlic and onion. Sauté until the onions are softened and opaque.  Next add the frozen stir fry vegetables and stir until heated through.  Add the cooked pasta, the pasta water and the liquid amino.  Mix well and check for seasoning.  Add more amino, salt and pepper to taste.  Serve warm or cold.

The next recipe comes from my daughter's love of Chinese fried rice.  For this recipe I use the frozen mixed vegetables, cooked brown rice and the liquid amino.

Landry's "Fried" Rice
2 cups of cooked brown rice
1 1/2 cups of frozen mixed vegetables
 2 Tablespoons plus more for seasoning Liquid Amino
Heat a large skillet over high heat.  Once hot add 2 tablespoons of liquid amino and the frozen mixed vegetables.  Stir the vegetables until coated with the amino and reduce the heat to medium and cover.  Let the vegetables cook for 5 minutes stirring once or twice to make sure they are not sticking.  If they are add some liquid amino or water to steam.  Taste the vegetables to make sure that they are heated through if not cover and let cook for 2 more minutes, if heated through add the brown rice and stir thoroughly.  Season to taste with more liquid amino and salt and pepper. Serve hot.
Who doesn't love Mexican food?  These next two recipes are my favorite next to Tacos. First up is a vegetable fajita using the taco seasoning, stir fried vegetables, whole wheat tortillas and the salsa.
Vegetable Fajitas
1 16 oz. pack of frozen stir fry vegetables
1 pack of taco seasoning
1 32 oz. jar of salsa
1 package of whole wheat tortillas
1 cup of water
In a large skillet sauté the frozen stir fry vegetables over high heat in 1/4 cup of water for 3 minutes.  Add the taco seasoning and the rest of the water bring to a boil and reduce the heat to simmer.  Let the vegetables simmer for 3-5 minutes or until most of the water is absorbed.  While the vegetables are cooking separate the tortillas and restack placing a paper towel between each of them and microwave for 15 seconds to warm.  Once vegetables are cooked spoon 3 tablespoons into each of the tortillas and top with salsa.
Enchiladas are a recipe that I like to serve when I have lots of people coming over.  They are easy to assemble and can be make ahead of time which is the best kind of food for company.  For these I use the tortillas, cooked brown rice, canned beans and the salsa

Bean and Rice Enchiladas
2 cups of cooked brown rice
1 canned of beans rinsed ( I use black)
1 jar of salsa
1 package of whole wheat tortillas

Preheat oven to 350. Layer the bottom of a casserole dish with 1/2 cup of salsa and set aside. In a large bowl add the cooked rice, beans and salsa and mix well.  Lay a tortilla flat and add 1/2 cup of the mixture, roll the tortilla up to close and place fold side down in the casserole dish.  repeat with the remaining tortillas and filling.  Once all of the tortillas are in the dish spoon 1/2 cup of salsa over tortillas and add optional shredded cheese.  Bake in oven for 15 minutes or until cheese melts.

Another of my favorite make ahead to feed a crowd recipes is chili. This chili only has five ingredients and doesn't take all day before they can eat.  For this you will need the canned tomatoes, canned beans ( black and kidney), taco seasoning and brown rice


 Vegetarian Taco Chili
1 28 oz. can of diced tomatoes
1 pack of taco seasoning
1 16 oz. can of black beans, rinsed
1 16 oz. can of red kidney beans, rinsed
2 cups of cooked brown rice
optional ingredients: frozen corn and bell peppers

Add the taco seasoning and diced tomatoes and bell peppers if using to a large sauce pan over medium high heat and bring to a boil.  Add the beans and reduce heat to low and simmer for if using corn add it now.  Simmer for 30 minutes and season with salt and pepper to taste.  Serve over 1/2 cup of brown rice.

The last recipe is a quick marinara sauce that is so easy my 10 year old daughter can make it.  All you need are canned tomatoes, sugar and fresh basil, garlic and whole wheat spaghetti.  We like to serve our Spaghetti marinara with steamed broccoli

10 Year Old's Marinara
2 cloves of garlic minced
1 can of diced tomatoes with basil
8 fresh basil leaves, shredded
1 teaspoon of sugar
1 pound of cooked whole wheat spaghetti

Add the canned tomatoes, garlic and sugar to a sauce pan and bring to a boil over high heat.  Reduce heat and let simmer for 30 minutes.  Add the fresh basil and stir.  Season with salt and pepper and spoon over pasta.  Serve hot.

So there you have it, some of my favorite pantry staples and just a few of the possibilities you can make quick easy and never again should you say that eating healthy is too expensive.  So now I ask you. 
 What's your favorite go to meal?

Friday, October 24, 2014

Stop walking by the Squash


Acorn, Butternut, Spaghetti, Red Kuri, Kabocha, Delicata and Pumpkin are all varieties of Winter Squash.  These beautiful and delicious seasonal jewels can be intimidating to many, causing you to walk right by them in the Produce section.  Well you are missing out on some wonderful tasty ingredients that is high in fiber and if stored like you would potatoes (unrefrigerated), can last up to 6 months. Because I would hate for you to go any longer without them in your life, here is a quick and easy guide to getting to know 3 of the most popular Winter Squash.


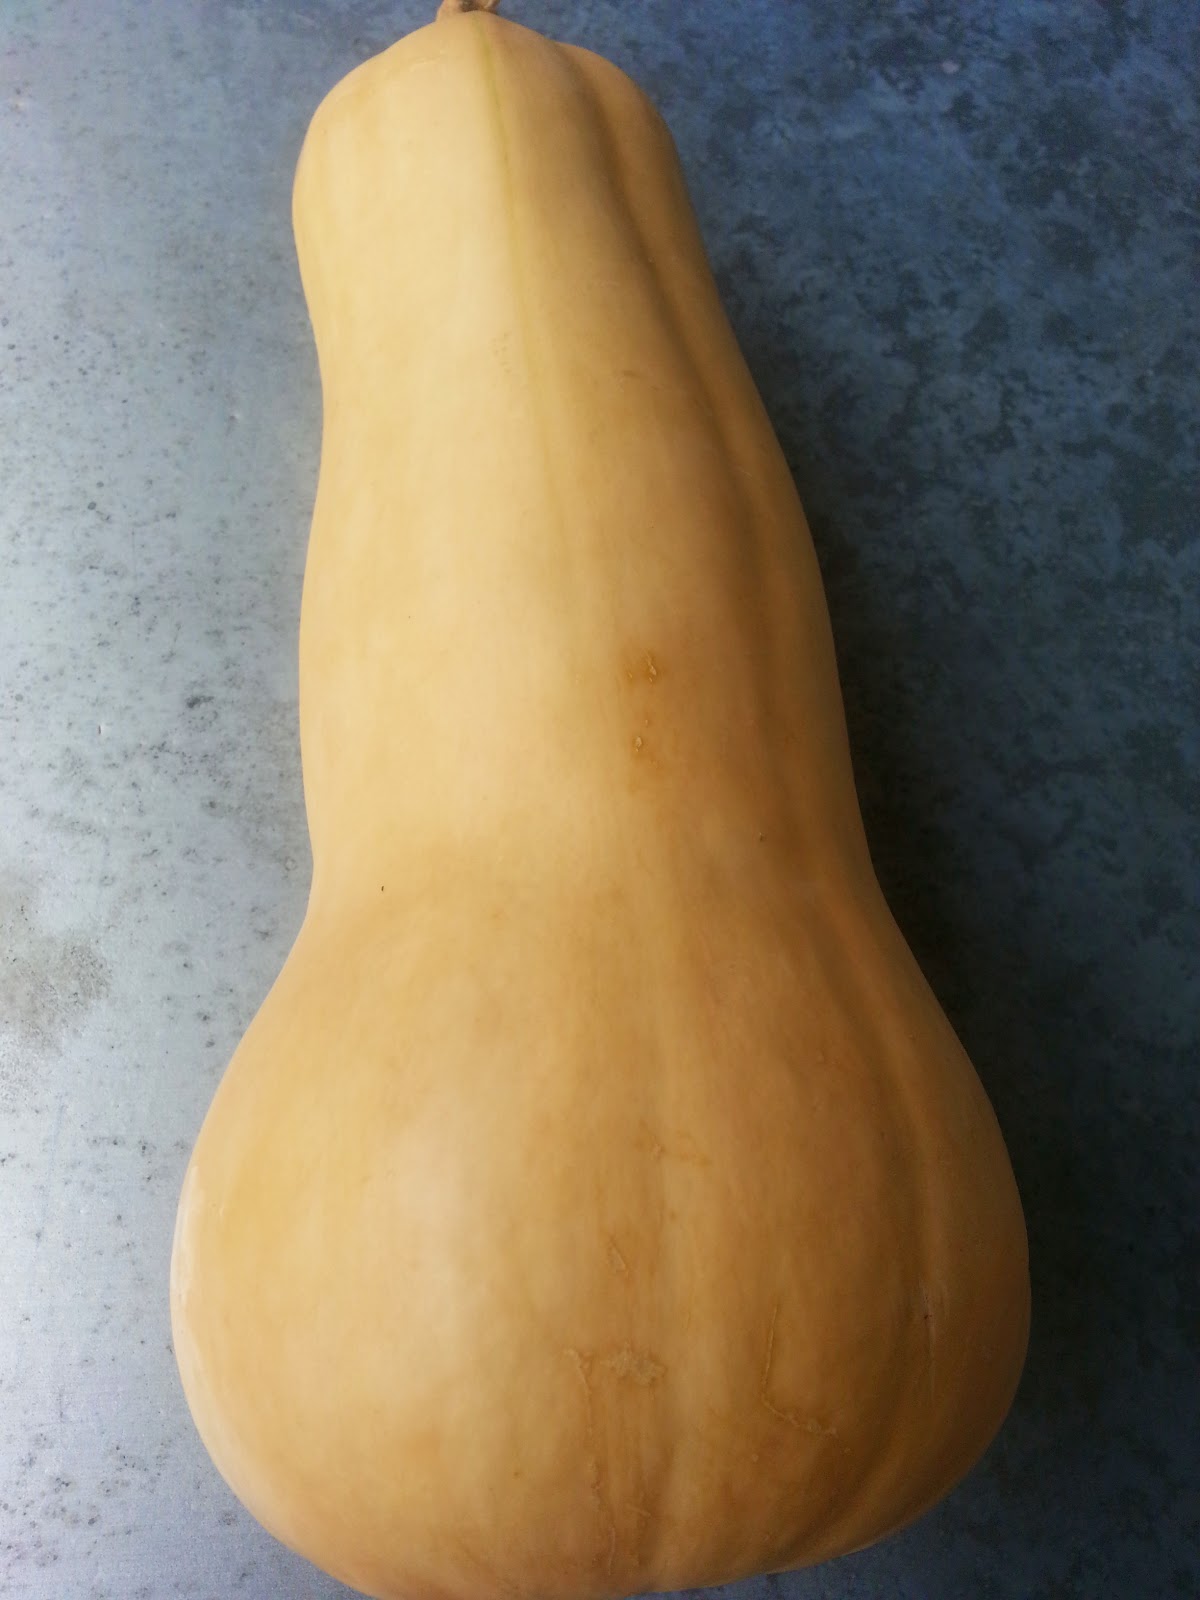
Butternut - Large, smooth peanut shape and tan in color.  This squash is best baked or mashed. The best way to prepare it is, to remove the skin with a vegetable peeler, pierce it with a fork and microwave for 3 minutes to make it easier to cut. Cut lengthwise and scoop out the seeds, cut into chunks and roast on 400 for 25-30 minutes. I use it to make muffins.


Butternut Squash muffins

Mix together dry ingredients:
1 1/2 cups flour
1/2 teaspoon salt
1/2 cup brown sugar
1/4 cup white sugar

1 teaspoon baking soda
1/2 teaspoon cinnamon

Combine in a large bowl:
1 cup roasted or steamed winter squash

1/2 cup canola oil
6 tablespoons of grade B maple syrup
Egg replacer equal to 2 eggs
1/4 cup water
1/2 cup chopped unsalted pecans
Add the dry ingredients and the pecans to the wet ingredients in stages, mixing gently. Pour into greased muffin tins or bread loaf pans. Bake at 350 degrees.

Check mini muffins after 10 minutes, standard muffins after 18 minutes, and bread loaves after 40 minutes. Bake until the top is golden brown and springs back when lightly pressed.


Pumpkin- When choosing a pumpkin make sure you choose a pie pumpkin to eat or you can buy the puree in a can.  The whole ones look like mini versions of the one used for carving and decorating.  I found a delicious pumpkin cheesecake recipe that I make a dairy free version of.  If you like dairy skip the cashews and add real cream cheese but I don't think you would miss it at all.


Dairy Free Pumpkin Cheesecake
Ingredients
1 1/4 cups raw soaked cashews
1 cup maple syrup
1 16 oz. can organic pumpkin puree 
2 tsp pumpkin pie spice 
1 tub (8 ounces) tofu cream cheese
optional: 1/2 tsp salt to taste (depends how much salt you soaked your cashews in)
One standard vegan graham cracker pie crust

Directions
1. Soak about one cup of raw cashews in about 2 1/2 cups of water in a large bowl. Add about 1/2 – 1 tsp of salt to the bowl – mix to dissolve. The salt allows the water to absorb more efficiently into the cashews and also adds some salt for your recipe. 
2. Soak this cashew bowl overnight in the fridge. You want well-soaked cashews so that your pie mix blends up perfectly creamy. I soaked my cashews for about 18 hours. At least 8 is optimal. Don’t soak for more than two days or the cashews can get grimy.
3. The day of your actual pie making allow at least 3 hours from the time you start to the time you wish to serve the pie. I like a cool time of at least 2 hours.
4. Preheat your oven to 400 degrees.
5. Drain the water from your cashews. They should be very soft to bite and a slight purplish dark hue. This is normal. Add 1 1/4 cups of cashews to your food processor – or blender.
6. Next, add in the maple syrup, vegan cream cheese, pureed pumpkin and pumpkin pie spice. Blend on low then high for about 3-5 minutes until the mixture is completely creamy. If your mixture is a bit thick for some reason – you can add in a few teaspoons of either water, maple syrup or even non-dairy milk. After blending, do a taste test and add a 1/2 teaspoon of salt if needed. I added in about 1/3 tsp extra salt. But taste before adding.
7. Pour your mix into a graham cracker pie shell (store-bought or homemade).
8. Bake pie at 400 degrees for 10 minutes. Then reduce to 350 degrees and bake for an additional 30-40 minutes. Your pie will firm up significantly upon cooling and chilling in the fridge.
9. Remove pie from oven. Cool on counter for at least 30 minutes. Then place in fridge until ready to serve. At least 2 hours cooling and/or chilling time is my preference. A warm pie will be tasty, but still a bit “wet” to slice.

Spaghetti Squash - these semi-soft and yellow squash are mild in flavor and when cooked it's flesh resembles spaghetti.  

Baked Spaghetti Squash with Marinara Sauce


Preheat oven to 400. Pierce the whole squash with a fork and microwave for 3 minutes to soften.  Let cool.  Once cool to touch cut squash lengthwise and scoop out seeds (DO NO THROW SEEDS AWAY set them aside for the next recipe).  Spray a baking sheet with non-stick spray and place squash flesh side down.  Bake squash for 50-60 minutes or until skin is fork tender.  Remove from oven and let sit until it is cool to touch.  turn flesh side over and use fork to scrape the squash "spaghetti" strings.  Add to a serving bowl.  In a saucepan heat your favorite marinara and add 1/2 cup to the squash and season to taste. Serve immediately with additional Marinara on top.


Don't forget the seeds.  Most of us know that the seeds of the pumpkin can be roasted and eaten but so can the spaghetti squash ones.  You can go crazy with the seasoning of your choice. Try a little seafood seasoning or garlic powder or cayenne pepper before serving.


Roasted Pumpkin or Spaghetti squash seeds

Seeds from 1 spaghetti squash or Pumpkin
1/2 tsp. safflower oil
Sea Salt to taste
Directions
Preheat oven to 300 degrees. Remove seeds from squash and rinse.  Dry thoroughly with paper towels.  In a small mixing bowl, combine seeds, safflower oil and sea salt.  Spread seeds on ungreased cookie sheet making sure none are touching.  Bake 10-15 minutes on one side.  Turn seeds using a spatula and bake another 10-15 minutes.  Seeds are done when golden, slightly brown on ends and edges and have a nice crunch.

Now that you have the basics, stop walking by those squash in the Produce department and enjoy these wonderful fall and winter favorites.

Friday, October 17, 2014

Go out and get your Greens!


In my last post Whatcha Eat Today I told my food journal volunteer to eat more greens.  I told her that greens would be great in a smoothie or in her morning omelet and you know what, the next day she tried it and I was so excited!  Then later that day I was in line at the the grocery store and  I noticed the couple behind me asking each other what the different greens were as the cashier rang up my order.  Then it hit me greens might be familiar to me but other than Spinach and Cabbage do people know greens?
Well welcome to your introduction to wonderful leafy greens.  This will be easy I promise.

There are a large varities of greens including, Arugula, Beet Greens, Bok Choy, Broccoli Rabe, Collards, Dandelion, Endive, Escarole, Kale, Mizuna, Mustard, Swiss Chard and Turnip.  Some are sweet, bitter and earthy, some are pungent, peppery and sharp and some are tender with a mild flavor.Some have hard inedible stems that need to have the leaves taken off before cooking and some you can eat the entire leaf.  Greens can be eaten raw in a salad or mixed in a smoothie.  Greens can be Steamed, sauteed,braised added to soups, stir fried and in stews and are often interchangeable in your recipes.  If Mustard greens are too bitter for you try Kale, if you don't like the toughness of Kale try Chard.
Once you decided to try different greens you need to know how to pick them, how much to get and how to store them.
Most greens can be found year round but this time of the year the hardier ones like Collards, Kale, Turnip and Mustard greens are at their peak.  When shopping for greens look for crisp leaves with nice vibrant green color.  If you see yellow leaves it is a sign of aging and they may not have their full flavor potential.  If you are making greens for you and your family remember that they cook down quite a bit so you need to get about one pound for every 2-3 people you are feeding.
Once you get them home you need to store them in the refrigerator, most people store their greens and other fruits and veggies in the crisper drawer but unless you are saving them for a special day I like to keep mine wrapped in a damp paper towel on the top shelf so that I remember to use them instead of forget about them and they go bad.  No matter where you put them in your fridge they will lose a bit of their crispness so the quicker you use them the better.  
To prepare your greens for cooking you need to wash them really well and cut off the stems if they are tough like in the case of Collards, Mustard and Kale.  As for Chard, Bok choy Turnip and Beet greens eat the whole leaf.
Now that you know how to pick, store and prep greens here are three of my favorite greens and the recipes I use them in.

Spinach- tender, sweet and adds it self well to be eaten raw or cooked. This is my husband's favorite vegetable and you will always find it in my fridge and freezer.  My morning are complete after this quick 3 ingredient smoothie.

2 cups of milk of choice
1 cup of fresh spinach
2 fresh mangoes - peeled and chopped
Mix all ingredients in Blender. Serve cold

My next favorite green might not be that familiar to everyone but once you try it, you will love it
Escarole - is a member of the endive family and looks a lot like green leaf lettuce and has a mild flavor and is great in winter salads raw or in this Escarole and White Bean soup.

For this soup you need;
1 head of Escarole, chopped 
2 cloves of garlic, diced
1 large shallot, diced
1 28 oz. of diced canned tomatoes with basil
1 large carrot, diced
2 ribs of celery, diced
2 cans 14 oz. cans of white beans drained and rinsed
4 cups of low-sodium vegetable broth
1 dried Bay leaf
1 Tablespoon Italian seasoning

Heat a large soup pot on medium high heat.  Add the shallots, carrot and celery in 2 tablespoons of the broth until the vegetables are tender adding more broth as needed.  Add the garlic, Escarole and canned tomatoes, Bay leaf, Italian seasoning and the rest of the broth to the pot and bring to a boil and reduce heat.  Cook the soup until the escarole is tender  about 20 minutes and add the rinsed beans.  Simmer uncover for 10 minutes and serve hot.

The last of greens for the night is an oldie but goodie for me and anyone who is a lover of Soul food but was a complete stranger to the couple n line is the lovely Collard green.  
Collard greens- big round flat leaves that have an inedible stem.Collards don't cook down as much as tender greens like spinach but need at least 15-20 minutes to cook. This recipe is a winter time staple in my house.
Collard Greens with Black Eyed Peas and Rice


1 large bunch of fresh chopped Collard greens with stems removed
1 can of black eyed peas and their liquid
1 large yellow onion, chopped
2 cloves of garlic, minced
1/4 cup of  vegan Worcestershire sauce
2-3 cups of low sodium vegetable broth
1/2 teaspoon of liquid smoke
salt, pepper and Tabasco sauce to taste
1 cup of cooked brown rice
Heat large soup pot over medium high heat and add the onions and garlic and 2 Tablespoons of broth.  saute the vegetables until the onions are opaque adding more broth if needed.  Add the greens, liquid smoke, Worcestershire sauce and the 2 cups of the broth.  Bring to a boil then lower the heat and simmer for 20 minutes.  Add more broth as needed.  Add the black eye peas and their liquid and the rest of the broth and simmer for 5 minutes.  Spoon into a bowl over 1/2 cup of brown rice and season with Tabasco, salt and pepper.

If you didn't know greens I hope you will give them a try with one of these recipes and send me a picture.  If you use greens all the time and have a recipe you would like me to try please email me at brownveggiemom@yahoo.com
Now go out and get your greens!


Saturday, October 11, 2014

Week one down and more apple recipes

First let me say a BIG thank you to all of you who read this blog and supported me this first week.  I was so excite to hear your comments and even had one reader make the apple sauce recipe!
Now back to the star of this week the lovely apple.  So far we have looked at apples in sweet ways with sauce, cobblers, crumbles and crisps but what about main course or side dishes?  Apples are great in soups paired with butternut squash and amazing in salads with fennel and pomegranates but two recipes that I love to use apples are in a sandwich with hummus, spinach and carrots and roasted with Brussels Sprouts.  Both of these recipes are inspired by Martha Stewart.
Apple and Hummus Wrap
Ingredients
2 Tablespoons of Hummus ( prepared or homemade)
1/2 cup of grated carrots
1/2 Granny Smith or Pink Lady apple
1/2 cup packed raw spinach
1 Whole Wheat Tortilla
 Spread the hummus on the tortilla and layer with the spinach, carrots and apples, fold tortilla and cut in half.  Like this:


This next recipe is a crowd pleaser even for people who say they don't like them.

Apples with Roasted Brussels Sprouts

Ingredients
3 lbs. Fresh Brussels Sprouts or 2 lbs. of frozen
10 Thyme sprigs or 1 teaspoon of dried
2 Tablespoons of Safflower oil
1 Granny Smith or Pink Lady apple, diced
2 teaspoons of apple cider vinegar
Salt and Pepper to taste

Preheat oven to 400. Trim and clean Brussels Sprouts and cut in half or quarters, leave small ones whole. Drizzle oil over Brussels sprouts and Thyme sprigs mix well.  Add the mixture to a roasting pan and roast for 15 minutes. Remove pan from oven and turn sprouts with a spatula, so they roast evenly.  Return to oven for another 15 minutes.
While the sprouts are in the oven dice your apple and mix with vinegar and set aside.
After the sprouts have roasted for the 30 minutes add the diced apples and stir to combine and return to the oven for 10 minutes more.  Add salt and pepper to taste and serve immediately.


Again thank you for your support and suggestions for future topics. Please keep the comments and suggestions coming!  Enjoy your weekend and look out next week for my food diary breakdowns.

Friday, October 10, 2014

Apple- Crumble, Cobbler and Crisp Oh My!

Are they any different?  I was asked this question recently and yes there are differences. 

Cobblers have a biscuit topping on the fresh fruit. The biscuits are usually dropped onto the fruit in small rounds, giving it the appearance of a cobbled road and hence the name.
Crumbles and Crisps are where it gets a little more complicated but here is the simple answer crisps would contain oats in the topping and crumbles would not
Got it?  Seems simple enough and no matter how you do it I'm sure my husband and daughter would eat them with a big scoop of ice cream.
I have not attempted to make a cobbler yet but I have made both an apple crumble and a raw crisp. The raw crisp I served as dessert for a supper club last month and the apple crisp I took to a job interview and got the job. Here are my recipes for both.

Raw Apple Crumble

Serves 8
Ingredients:
8 Honeycrisp apples, cored and chopped
1/4 cup orange juice
3/4 cup pecan halves
3/4 cup almonds
¾ cup walnuts
3/4 cup raisins
1 cup pitted dates
3/4 teaspoon ground ginger
3/4 teaspoon ground cinnamon
Put apples and raisins in an 8-inch square baking dish or 2-quart casserole dish. Drizzle with orange juice, toss until the fruit is coated and smooth the top. In a food processor, combine nuts, dates, ginger and cinnamon and pulse just until chopped. Spoon the nut mixture over the apple mixture and serve.


Here's what it should look like:


Apple Crisp Recipe

Serves 6
5 cups of chopped Pink Lady apples
1 1/2 Tablespoons of all purpose flour
2 teaspoons of cinnamon
1/2 teaspoon of nutmeg
1/2 cup unsweetened apple juice
1/4 cup of dried cranberries
1/4 cup raisins
1 1/2 cups of rolled oats (not quick oats)
Preheat oven to 350. Spray a 8x8 baking pan with cooking spray. Combine the oats and the apple juice and one teaspoon of the cinnamon set aside.  In a large bowl add apples, flour, the rest of the cinnamon, nutmeg, cranberries and raisins.  Mix well until the fruit is all coated then spoon into the baking dish.  Cover the mixture with the oats and bake uncovered for 25-30 minutes or until the apples are tender.
 Here's  mine:

Sorry my pictures are less than stellar but remember I made these before I wanted to start this blog. I promise they will get better. I hope you will try one of these and if you do please let me know how you liked them.


Thursday, October 9, 2014

Apple Sauce

Anyone who knows me knows that I hate cooked fruit.  It's a consistency thing for me.  Yes that means I don't like pie or cobbler nor do I eat apple sauce as a snack.  This might bring you to the question; Why then is this post about apple sauce?  My answer; Although I am not a fan of cooked fruit I am a fan of sweet, baked things so I use apple sauce as an ingredient when baking -which is not often- to add moisture without adding oil.  You can use it to make muffins or cakes and breads.  I had the pleasure of teaching a group of special needs adults ( in the picture below) an apple sauce making class and this is the quick, easy recipe we used:


Chunky Apple Sauce
Ingredients
·        8 cups chopped organic Gala apples  with skin on (about 3-1/2 pounds)
·        1/2 cup packed brown sugar
·        1 teaspoon ground cinnamon
·        2 teaspoons vanilla extract
Directions
·        In a large pot, combine apples, brown sugar and cinnamon. Cover and cook over medium-low heat 30-40 minutes or until apples are tender, stirring occasionally. Remove from heat; stir in vanilla. Mash apples slightly if desired. Serve warm or cold. 

How do you use your apple sauce?

Wednesday, October 8, 2014

A is for Apple


It's only fitting that my first week of blogging consist of apple recipes, after all is is Fall when apples are abundant and at their peak flavor and a great price point.  There are over 7,500 apple varieties grown in the world and 2,500 of them are grown here in the U.S.  That's a lot to choose from but when cooking you want to make sure you choose wisely.  Here is a little breakdown of of which apples to use for your favorite recipes:

Pies; Granny Smith is the classic green apple that is crisp and has a tart flavor that stand up to baking.  Other choices: Cameo and Winesap

Apple Sauce: Gala is mildly sweet with fragrant yellow and red thin skin.
Other choices: Rome and Macintosh

Baking: Pink Lady- my second favorite, they are firm, crisp and have a sweet-tart taste the skin is pink with yellow
Other choices: Pippin, Sierra Beauty and Granny Smith

Cider: Fuji is extra crisp and both sweet and tart and have a flavor that most resembles that of freshly pressed apple juice
Other choices: Winesap, Jonagold and Gala

Eating: Honeycrisp is sweet with a touch of tart and amazingly crisp and as you can probably guess, my favorite.
Other choices: Gala and Criterion

Now that you have the "core" facts about apples, go, buy and cook. 

 What is your favorite apple?